Grandma Cardoza’s Authentic Portuguese Sweet Bread Recipe
What memories are brought to mind when I say ”Spring Break”? For my brother and I , “Spring Break” meant a week at our grandparent‘s house. The week was filled with Portuguese Sweet Bread, visiting with our grandmother’s extended Portuguese family, and preparation for Easter Sunday. Our Easter Sunday was spent enjoying food, family, faith, and more food.
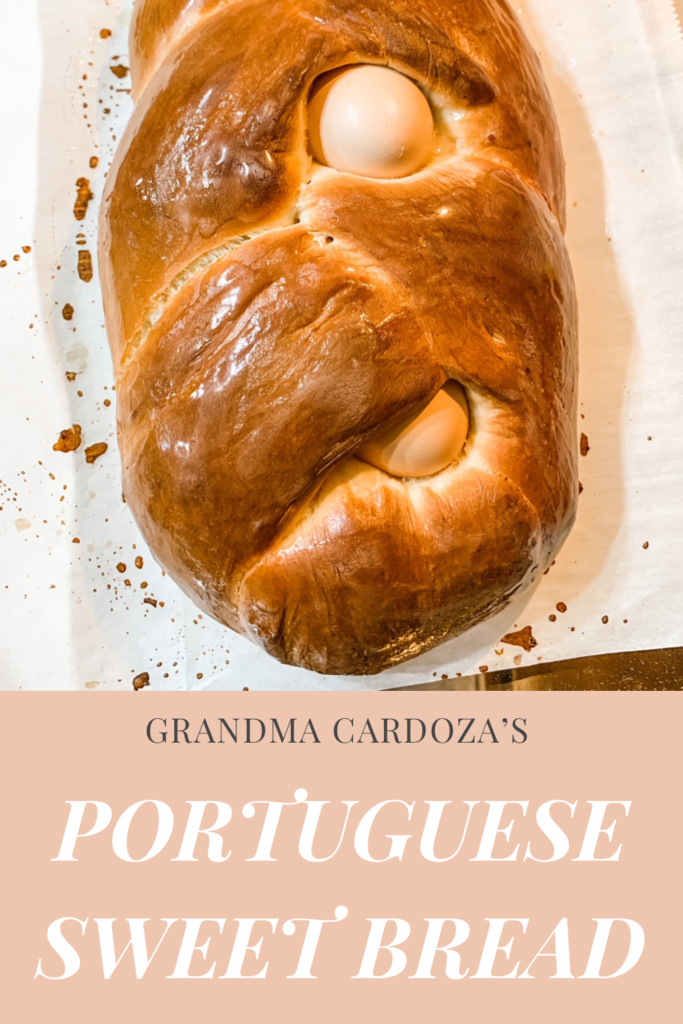
The food highlight for Easter was my grandma’s sweet bread. Grandma spent the week of Spring Break kneading several batches of bread and reminding us that the bread was rising, so we had to keep the door shut and heat in. My favorite way to enjoy the sweet bread was hot out-of-the-oven with a thin layer of butter melted on top. Grandma shaped her bread into large rolls, essentially mini-loaves that could be sliced and shared. My great-aunt would braid the bread into larger loaves and include entire eggs tucked into the braid.
Folar da Pascoa
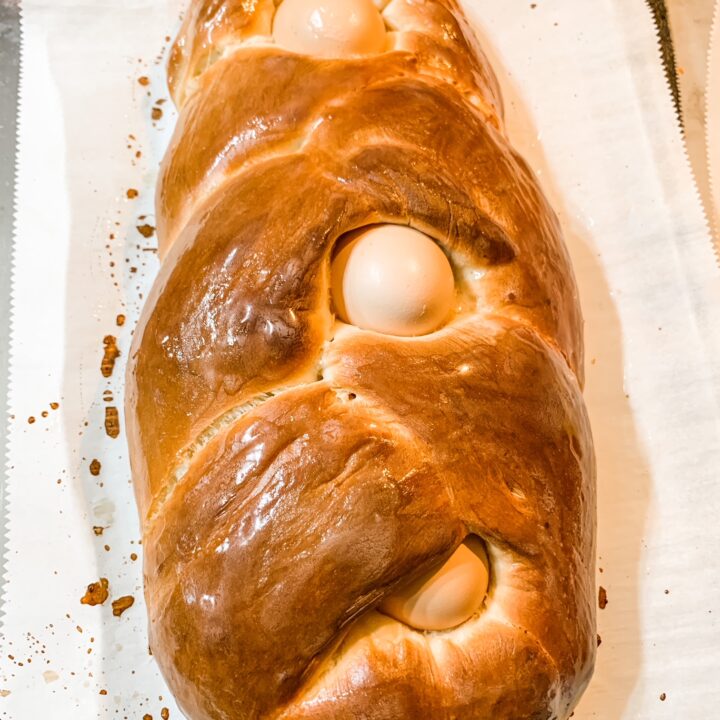
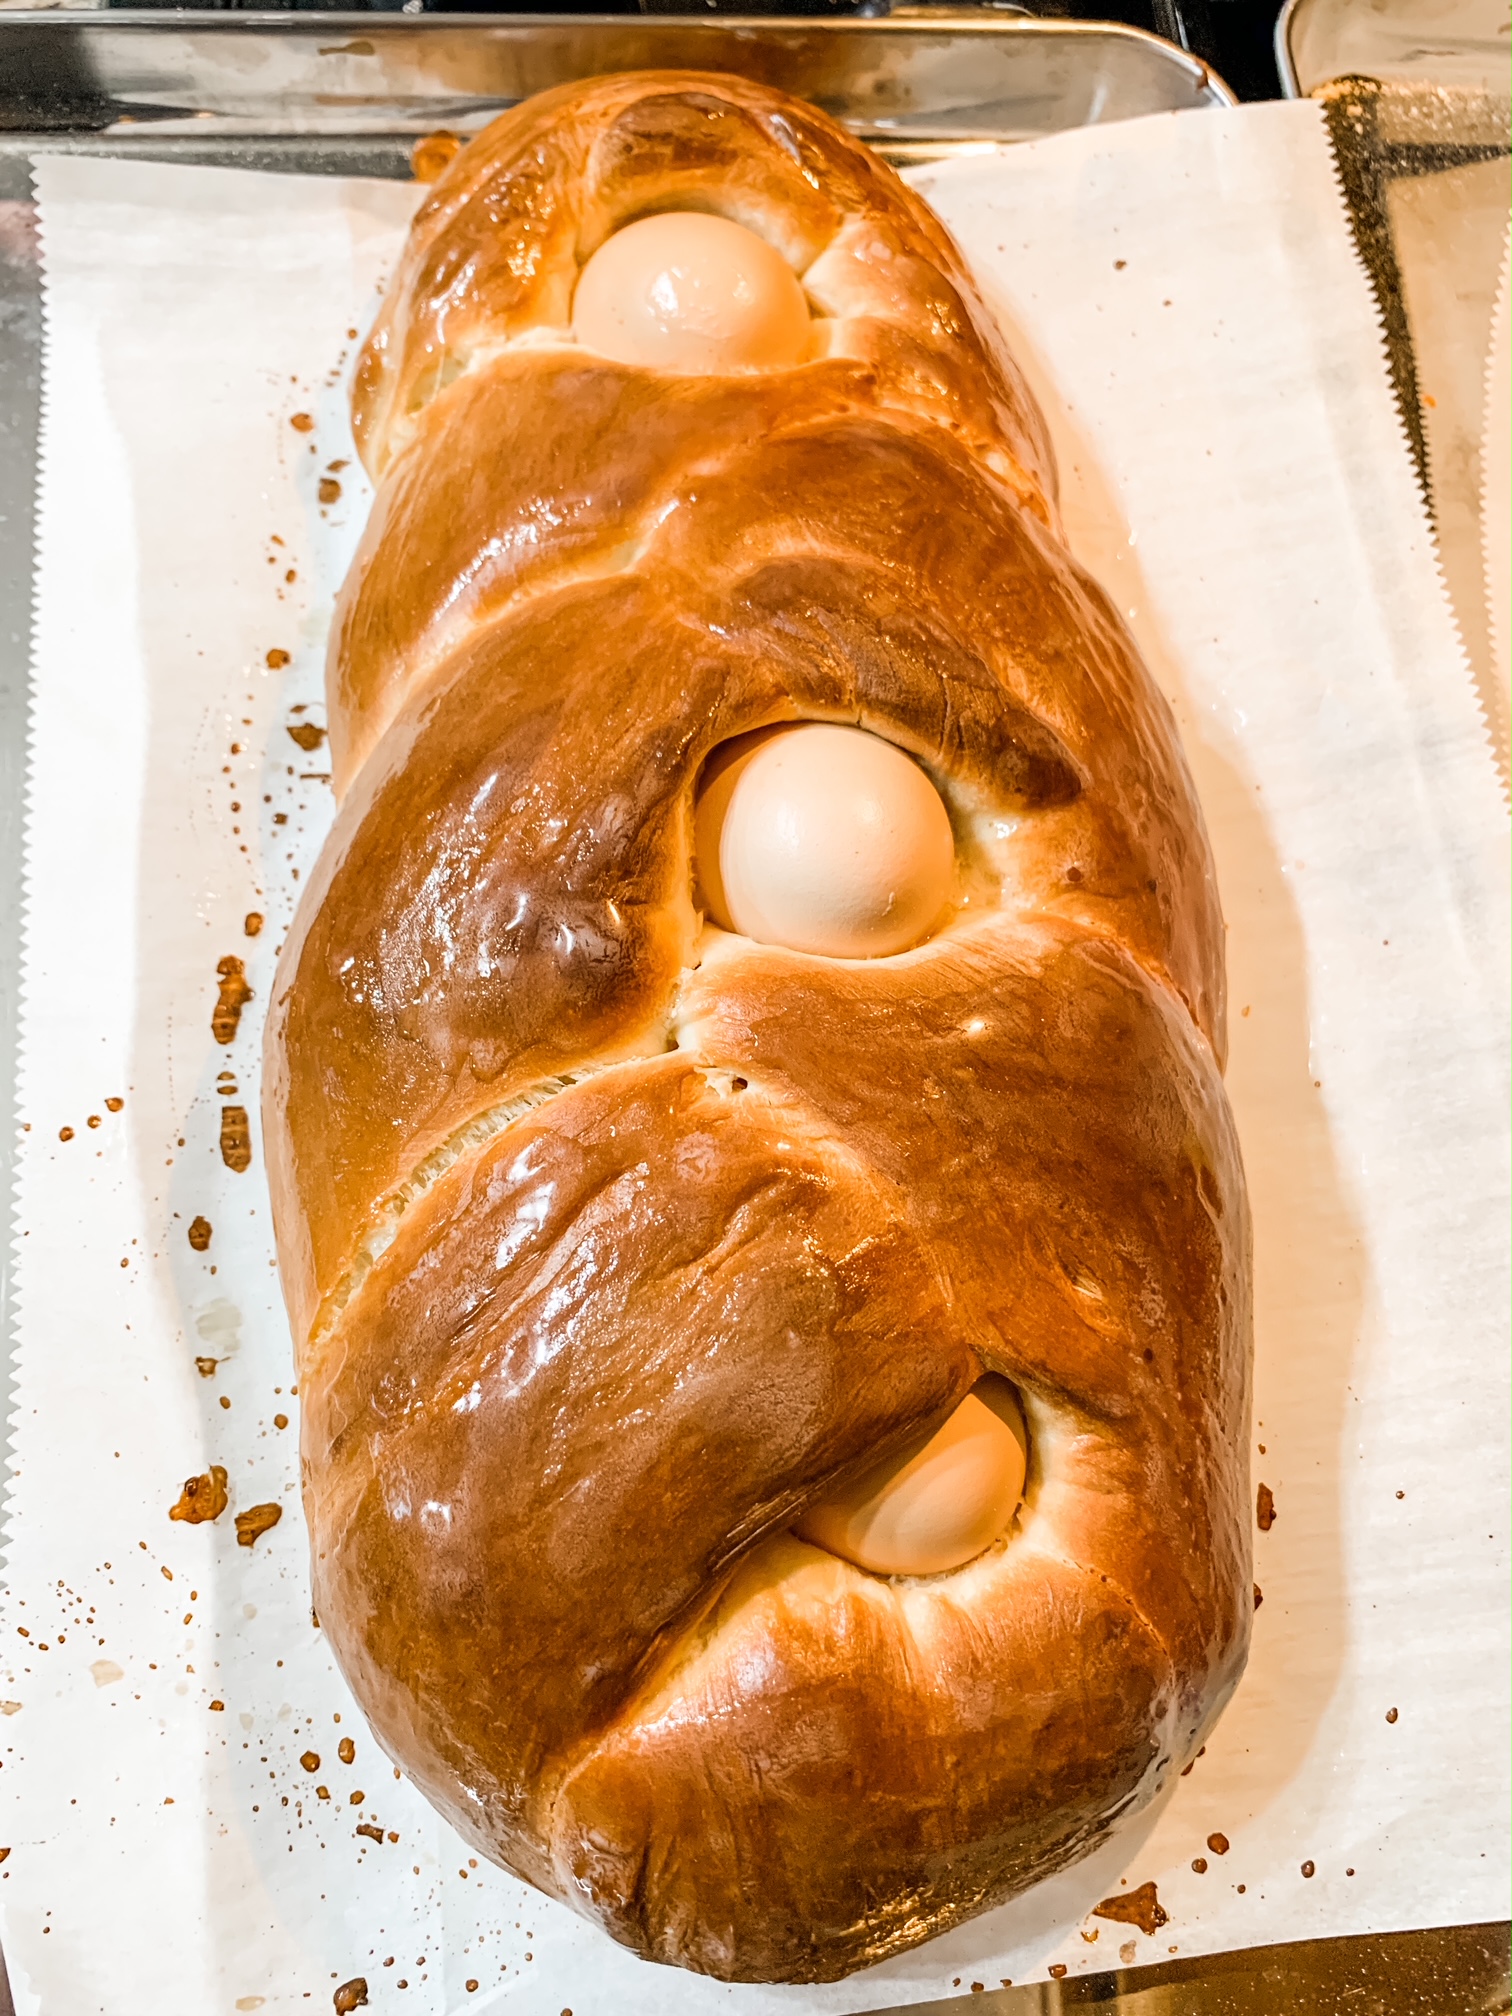
Folar da Pascoa is sweet bread with a whole boiled egg baked into it. The purpose of the egg is strictly symbolic, representing rebirth and the Resurrection of Christ. As a child, I was enamored with how the smooth, white surface of the egg peeked out of the golden folds of the bread. I never had any interest in eating the egg itself, though. It was all about the sweet, tasty bread! After years of sharing these memories with my children, I finally had the courage to try making my grandma’s Portuguese Sweet Bread.

Grandma’s Handwritten Recipe
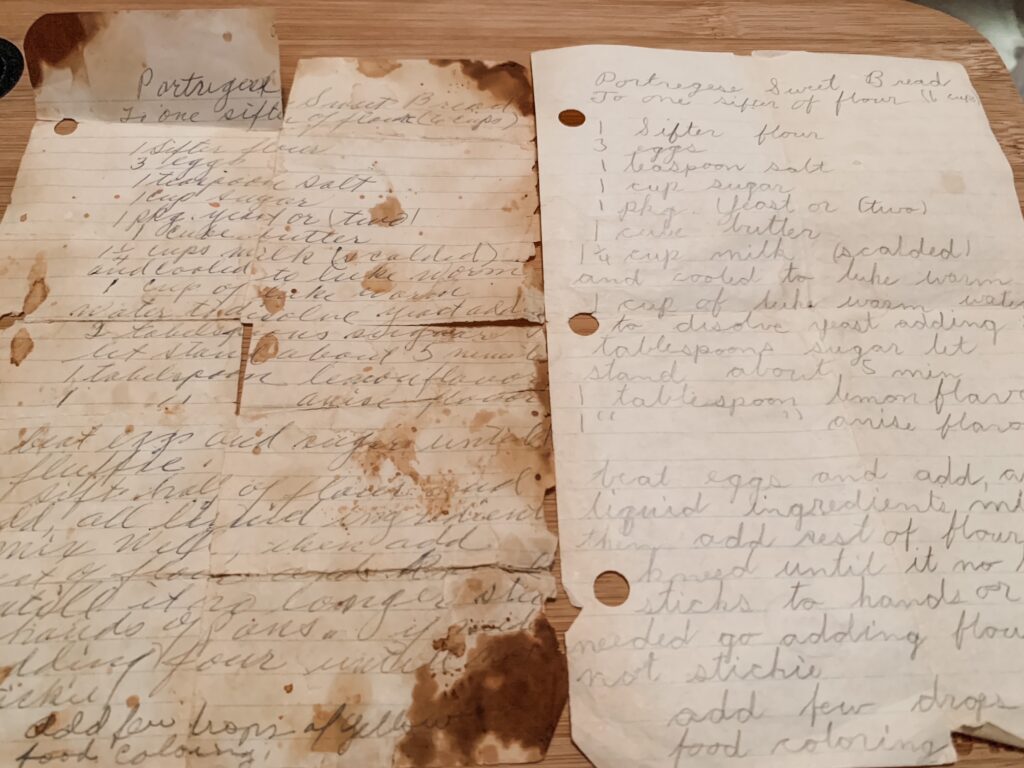
I consider it a blessing that I inherited my grandma’s recipe books. Her coveted family recipe wasn’t immediately found amongst her books, though. During the second search of the recipe books, tucked amongst some handwritten recipes cards, magazine cuttings, and tattered cookbook pages, two pieces of paper folded together fluttered onto the counter. The outer page was a fresher version of the family recipe, handwritten in my grandma’s old-fashioned cursive writing. The second page was a yellowed, tattered, torn, taped, stained, and slightly scorched handwritten version of the recipe in a similar old-fashioned cursive. Eureka! We found the family gold!
It should not have been a surprise, but there were no cooking temperatures or length of time for baking. Of course she had those details memorized. Thankfully, the internet is filled with the recipes of other families. During a quick search for other sweet bread recipes, I discovered that my grandma’s version of the family recipe is actually identical to many of the Italian Sweet Bread recipes. Many of the European cultures have a version of the sweet bread, popular at Easter after the fasting of Lent has ceased. Some of their recipes call for honey, some call for sugar, some call for raisins, some for lemon zest, some for fennel (or anise) and others, including my grandma’s recipe, call for lemon and anise.
Making the family Portuguese Sweet Bread
The family recipe starts off with requiring 1 sifter of flour. I grew-up baking with my grandma, but I missed the lesson on how many cups of flour are in a sifter! I have seen sifters in varying sizes, so it was important to figure out exactly how much flour fit in my grandma’s sifter. After some serious scrutinizing, the mystery of “1 sifter” was solved…in the recipe’s title! Apparently my grandma’s sifter held 6 cups of flour. The recipe goes on to require eggs, salt, sugar, 1 package of yeast “or two”, butter, scalded milk, lemon extract, anise extract, and yellow food coloring.
Even though I omitted the food coloring, the bread looked and smelled just like my grandma’s Portuguese Sweet Bread! Instead of the large rolls, I opted to try the braiding technique my great-aunt always used. Tears leapt to my eyes when I tasted the bread and I was instantly transported back to my grandma’s kitchen. My bread tasted just like my grandma’s bread!! I was shocked and so proud. The only thing better than the my bread tasting just like my grandma’s is that my children love the bread as much as I do!
Grandma Cardoza’s Portuguese Sweet Bread recipe
- 6 cups all-purpose flour
- 1 tsp salt
- 3 eggs
- 1 cup sugar + 2 tbsp sugar (for mixing with the yeast)
- 1 package of yeast (21 g)
- 1/2 cup butter + a little extra to melt on top after baking is complete
- 1 1/4 cup milk (scalded, then cooled) + a little extra to brush on top while baking, for a beautiful shine
- 1/2 cup warm water
- 1 tbsp lemon extract
- 1 tbsp anise extract
- Dissolve 1 package of yeast and 2 tbsp sugar in 1/2 cup warm water. Let stand until frothy and bubbly about 5-15 minutes).
- In a small saucepan, combine milk and butter and bring to a simmer. Remove from heat and let cool a bit.
- Combine flour and salt. My grandma’s recipe calls for sifting the flour, so I sift as grandma suggests.
- In a mixing bowl, beat eggs and sugar together until mixed well. Next add the milk and butter mixture, the lemon extract, the anise extract, and the yeast mixture to the eggs and sugar.
- Gradually add the 6 cups of flour to the mix.
- Knead the bread until very smooth, which takes about 15 to 20 minutes.
- Cover the dough, place in a warm area, and let rise until the dough doubles in size. This takes approximately 2 hours.
- Punch dough down, divide, and form into rolls, large round loaves, or braided loaves.
- Place the dough on a buttered cookie sheet (I use parchment paper) or in a pie pan, cover, and let rise again for roughly an hour.
- Bake at 350 F for 25-30 minutes. When the bread starts to brown, I brush the top with milk, and this helps give a shiny, golden top to the bread. As soon as the bread is ready, I butter the top.


Grandma Cardoza’s Portuguese Sweet Bread
Grandma Cardoza's sweet and tasty Portuguese Sweet Bread
Ingredients
- 6 cups all-purpose flour
- 3 eggs for the dough
- 1 tsp. salt
- 1 cup sugar + 2 tbsp. sugar (for yeast)
- 1 package of yeast (21 g)
- 1/2 cup butter + some for the top after baking, if you choose
- 1 1/4 cup milk (scalded) + some additional milk for basting during baking
- 1/2 cup of warm water (for yeast)
- 1 tbsp. Lemon extract
- 1 tbsp. Anise extract
- Optional: Boiled eggs to include in the loaves if making Folar da Pascoa
Instructions
- Dissolve 1 package of yeast and 2 tbsp. sugar in 1/2 cup warm water. Let stand until frothy and bubbly (about 5-15 minutes).
- In a small saucepan, combine milk and butter and bring to a simmer. Remove from heat and let cool a bit.
- Combine flour and salt. My grandma's recipe calls for sifting the flour, so I sift as grandma suggests.
- In a mixing bowl, beat eggs and sugar together until mixed well. Next add the milk and butter mixture, the lemon extract, the anise extract, and the yeast mixture to the eggs and sugar.
- Gradually add the 6 cups of flour to the mix.
- Knead the bread until very smooth, which takes about 15 to 20 minutes.
- Cover the dough, place in a warm area, and let rise until the dough doubles in size. This takes approximately 2 hours.
- Punch dough down, divide, and form into rolls, large round loaves, or braided loaves.
- Place the dough on a buttered cookie sheet (I use parchment paper) or in a pie pan, cover, and let rise again for roughly an hour.
- If you are making Folar da Pascoa, make sure the eggs are boiled and tuck them in the loaves before baking.
- Bake at 350 F for 25-30 minutes. When the bread starts to brown, I brush the top with milk, and this helps give a shiny, golden top to the bread. As soon as the bread is ready, I butter the top.
- Enjoy right from the oven, if you choose!
Notes
I basted with milk about 10-15 minutes into baking. I used salted butter for the top of the bread. To melt the butter on top of the bread, as soon as baking was complete, I held an entire stick of butter in my hand like a crayon and "colored -in" the entire top of the loaf until I was content with the coverage and gloss. The sweet bread and the salty butter are such a a tasty treat!


